#SlackHacks: Creating an Events Calendar for your remote team
- Jan 11, 2018
- 6 min read
In this post, I'm going to show you a useful hack for creating a quick and easy calendar for events, conferences and expos in Slack. This calendar will allow you to create an accessible, centralised record of where your remote distributed team members are likely to be in the coming months. It's particularly useful for Virtual Assistants, as it allows you to keep track of occasions when your executives may be out of contact for a few days, and when they might need be in need of you for booking flights and hotels.
Every industry has a calendar of events which structure its working year. When supporting sales or executive teams, its vital that a good assistant has a go-to resource of what those events are, when, where, and, most importantly, which team members will be in attendance. This should be sorted out as far ahead in advance as is possible, to allow for planning and preparations: setting up meetings, booking transport and accommodation, calling ahead to arrange catering and so on. A busy executive or sales person may not know with absolute certainty which events they will be attending, so having a flexible calendar is useful.
This is why I recommend establishing an events calendar in Slack. A remote team will likely all have Slack open permanently on any device they interact with regularly, so embedding a calendar into Slack in the form of a channel leaves no reasons/excuses(!) as to why it is not being utilised as a resource. Google Calendar may be popular, but its UI can make it a pain to use, as it easily becomes cluttered if there are more than four events in a day. Many people will also run their own personal calendars on the side and so adding an additional calendar into the mix may be met with resistance, as it is one more tool to learn, manage and update. Embedding your own, "hand-made" organisational aid into Slack shows you're trying to make life easier, not harder, for the executives you support.
We are going to do this in three distinct stages. The Calendar, The Emoji Voting System, and The Events List.
CALENDAR
First, create a channel. Go to the + icon next to the All Channels label, and click to add a new communication channel to your target Slack group.

Add information about the name of your channel, its purpose and members. I suggest trying to keep to the top end of the alphabet, eg "calendar" "events calendar" "B2B Sales Events Calendar" or something similar. This will ensure your channel is sorted to the top of the channels list when arranged alphabetically, which will help people be reminded to use it. In groups with a lot of channels, this will prevent it getting lost.

Next, create 12 pinned posts, one for each month of the year. You can make these as attractive or Spartan as you wish, to suit the needs of your team. I like a bit of colour, and find its useful to iconise key activities and events, but some people vehemently hate emojis, so make a judgement call! Whatever you choose, leave the far right edge open, so your text can wrap around. Try this template to follow, and customise it to your own team:
JAN+ + + + + + +
+
+
+ + + + + + + + +
FEB + + + + + + +
+
+
+ + + + + + + + +
MAR+ + + + + + +
+
+
+ + + + + + + + +
APR+ + + + + + +
+
+
+ + + + + + + + +
MAY + + + + + +
+
+
+ + + + + + + + +
JUN + + + + + + +
+
+
+ + + + + + + + +
JUL+ + + + + + +
+
+
+ + + + + + + + +
AUG + + + + + + +
+
+
+ + + + + + + + +
SEP + + + + + + +
+
+
+ + + + + + + + +
OCT+ + + + + + +
+
+
+ + + + + + + + +
NOV + + + + + + +
+
+
+ + + + + + + + +
DEC + + + + + + +
+
+
+ + + + + + + + +
VOTING
For each team member, you're now going to establish three unique custom images to permit them to indicate their attendance for a particular event. You want to do this specifically with emoji, rather than initialling, so you (and everyone else) can see at a glance who will be attending a particular event.
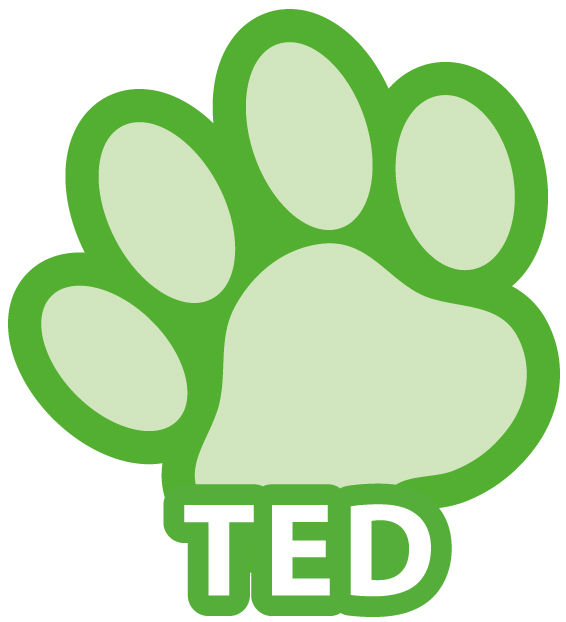
You want 3 simple, clear emoji: one red for non-attendance, one green for attendance, and a further neutral one to indicate "maybe." Try to personalise them to something distinctive about each person if at all possible. We are going to have an imaginary team member called Ted Higgins to practice on. He loves dogs, so we're making his icons all paw prints.
Hunt online for clip art that suits your purpose, and save them locally to an images folder on your Pc or mobile device. If the images are too large, you can resize them. You can do this on a PC using MS Paint. Right-click your saved image and choose Edit.

Then, resize the picture to no more than 126 pixels along either axis, to make it the size of an emoji icon. Select Resize...

...then input your dimensions.

Hit Ok, then save your image that will become your new emoji. Once you have a "yes," "no" and "maybe" icon for each person in your team, you're ready to turn them into emoji for voting. For other devices, you will need to use alternative editing tools. You're on your own with that one.

Return to Slack. Personalised emoji are under the "Customise Slack" option. On desktop or mobile devices, click on the emboldened name of your Slack group at the top left of the screen. A drop-down will appear with Customise Slack option. Select it and you will be taken into your browser to begin setting up custom emoji. You need to be connected to the internet to do this.

For each team member, add the emoji image you have chosen and name the emoji appropriately:
TEAMMEMBERNAMEyes eg. "TEDyes"
TEAMMEMBERNAMEno eg. "TEDno"
TEAMMEMBERNAMEmaybe eg. "TEDmaybe"
Emoji names must be in all lower case and be unique to each team member, so if you have two people with the same name, add an initial or use their username. A clear icon and a straightforward name mean this voting system can even be used for group decision making outside of the calendar. Save your emoji by hitting the green "Save New Emoji" button after each emoji is added. If you have a large number of team members, this may take a while, so use the list at the bottom of the emoji screen to keep track of how far through the process you've got.
Once you're all done, return to Slack. Remember the 12 pinned posts you made, one for the month? You're now going to create one additional final pinned post, one per team member, allowing them to vote via the emoji vote system you just created. Follow this template for a team member named TED.
@TED
Please indicate attendance at the following events via emoji vote: (TEDYes: :TEDyes: , TEDNo :TEDno: , TEDMaybe :TEDmaybe:)
Pinning the post allows your team member to use it as a reference sheet in case they forget how to use their emojis.
EVENTS
So now, we have a calendar template, and individualised attendance voting for each and every member of the team. Now, we need to add events to our calendar and bring it all together.
Research events for your calendar. For each possible event, give a name, location, weblink and any other relevant information, but try to keep it as short as possible. Add these events to your calendar channel, preferably in small batches. Each event should be its own post. Here is an example:

Now, using the voting system, each team member can indicate their attendance by responding using their custom emoji. Here, two team members are attending the event in Brighton:

When all team members have voted, transfer attended events up into the pinned calendar posts by copying and pasting.

You can alternatively add the events directly into the pinned calendar posts and then remove the ones that are not attended. If you already know your prospective events list in advance, this might be a faster option.
So there you have it, a simple method for creating an event calendar directly into Slack, and for creating a customised voting system. You can use the voting system anywhere else within that Slack team, which might come in handy!


Comments